The Edit Vertices tool  edits control points if the control points option is enabled. Commands appear on the context menu to add, delete, or convert control points. This tool is available in the Modify Features pane.
When you edit control points, consider the following:
- By default, control points appear with sketch geometry as diamonds. If the control points option is disabled, control points appear as vertices.
- You can drag and move control points like vertices. Many of the same vertex commands are available on the context menu and work with control points.
- Press the T key to display a square viewer that follows the pointer and highlights vertices and control points that are within the pointer snapping tolerance.
To add, delete, or convert a control point, complete the following steps:
- Open the map containing the features to be edited or add the layer to the map.
To learn more about adding layers, see Add layers to a map or scene.
Tip:
Before editing, confirm the layers you are editing are editable, snap settings add efficiency and accuracy to your workflow, and the coordinate system assigned to the active map is suitable for the type of edits you're performing.
For a basic checklist of settings, see Configure settings for editing.
- Click the ribbon Edit tab. In the Features group, click Modify
 .
.The Modify Features pane appears.
- Click the Edit Vertices tool
 .
.To find the tool, expand Reshape, or type Vertices in the Search text box.
Alternatively, click the tool on the ribbon Edit tab in the Tools group.
Note:
If map topology is turned on, click the Features tab or turn off map topology.

To learn more, see Map Topology.
The tool opens and the Select a feature tool
 automatically runs.
 - Select only one feature to be edited.
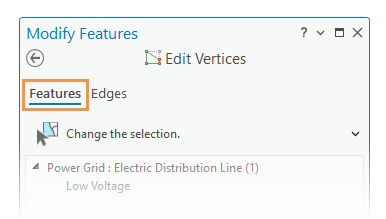
If a feature is currently selected, the selection tool displays Change the selection.
To refine the selection to only one feature, right-click a feature and click Unselect
 or Only Select This
  .
.The sketch geometry for the selected feature appears when one feature is selected.
- To add a control point, hover over a segment, right-click it when the pointer changes to the segment cursor
 , and choose Add Control Point
  .
. - To delete a control point, or convert it to a vertex, hover over the control point, right-click it when the pointer changes to the directional cursor
 and click one of the following commands:
 Delete Control Point

Delete the control point.
Convert Control Point to Vertex

Convert the control point to a vertex.
Tip:
To convert a vertex to a control point, right -click the vertex and click Convert Vertex to Control Point
 .
. - Click Finish
 , or press the F2 key to finish the edit.