Available with Standard or Advanced license.
Creating replicas in a disconnected environment is slightly more involved than in a connected environment, as you first need to replicate the data to an .xml file. Then, use the Import XML Workspace Document geoprocessing tool to import the .xml file to the relative geodatabase, which completes the process.
To create a replica in a disconnected environment, complete the following steps:
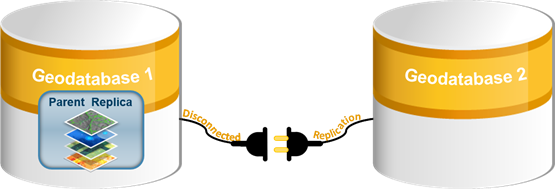
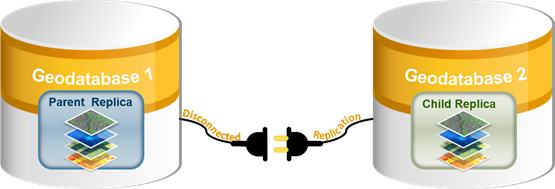
The diagram below shows a replica in a disconnected environment. 
- Ensure that the data to be replicated meets the geodatabase replication requirements.
- Use the Create Replica geoprocessing tool to replicate data to an .xml file by doing the following:
Tip:
If needed, you can use the steps outlined in the following topics, which are based on creating replicas for the different replication types:- On the Create Replica tool's Parameters tab, click the Output Type drop-down menu, and choose Xml file.

This output type works well in disconnected environments.
- For the XML file to replicate data to parameter, click the browse button
 , browse to a location to store the .xml file, and provide a name for the file that will host the child replica.
 - Complete the remaining parameters in the Create Replica tool, and click Run when you're finished.
The replica is created and written to an .xml file as a workspace document. You can send the .xml file to the destination containing the relative geodatabase that will host the child replica.

Note:
In disconnected environments, .xml files can be transported on media such as external storage devices (for example, USB drives, SD and memory cards, external hard drives, and CDs or DVDs) and sent using a distribution agent such as email, a private courier, USPS, and so on.
- On the Create Replica tool's Parameters tab, click the Output Type drop-down menu, and choose Xml file.
- In the relative geodatabase, open the Import XML Workspace Document geoprocessing tool.
This tool imports the contents of an XML workspace document file into an existing geodatabase. You can open the tool by searching for it in the search box in the Geoprocessing pane, or by browsing to it in the Workspace toolset of the Data Management toolbox.
- For the Target Geodatabase parameter, browse to the geodatabase where you want to import the .xml file.
Note:
The target geodatabase must already exist and can be a file or enterprise geodatabase depending on the replica type. To create an empty file geodatabase, use the Create File Geodatabase tool. To create an enterprise geodatabase, use the Create Enterprise Geodatabase tool.
- For the Import File parameter, choose the .xml file you created in step 2.
- For the Import Options parameter, select Import data and schema.
Selecting this option imports both data (feature class and table records, including geometry) and schema.

- Click Run.
Once the .xml file is imported, the replica is created and registered in the relative geodatabase.

See Synchronize disconnected replicas to learn more about synchronizing replicas to transfer data in a disconnected environment.