Available with Location Referencing license.
Use the Set Time Filter tool  to configure the time view for LRS-managed layers. This time view can be set to a specific date or to a date range, allowing for better management of time-enabled LRS layers.
Tip:
Time must first be enabled in the project using the Enable Time button  on the Location Referencing tab or by enabling layers individually.
Complete the following steps to configure a time filter for an ArcGIS Pro map:
- On the Location Referencing tab, in the Tools group, click the Set Time Filter button
 .
.Tip:
If LRS layers in a feature service are published without time enabled, both Enable Time
 and Set Time Filter
  are inactive on the tab.
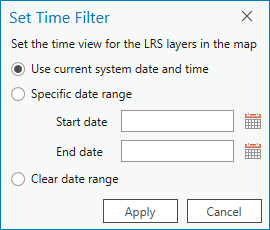
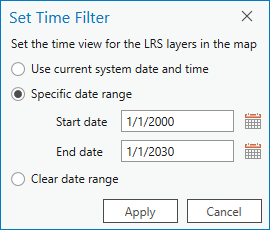
The Set Time Filter dialog box appears.

- Configure one of the following options:
- Choose the Use current system date and time option to use the current system date and time to filter time.
- Choose the Specific date range option and add a start date and end date to filter the map time using the configured time range.

Tip:
Use Clear date range to clear any previously configured time filters.
- Click Apply to change time filters in the map.
Note:
You can also set the time view on the map to the system date and time by checking the Set LRS layers in maps to the current date and time check box on the Options dialog box. When this option is checked, the current date and time are set on the map when the project is opened.