Disponible avec une licence ArcGIS Maritime.
The Notes Editor tool allows you to edit notes. Editing a note changes the note's text for all features that are associated with it. To edit a note for an individual feature, it is recommended that you add a new note to the feature and delete the unwanted note.
- Start ArcGIS Pro.
- Open a new or an existing project.
- Add maritime data to the Contents pane, if necessary.
The Maritime VPF tab appears.
- Select the features that contain the notes you want to edit.
- On the Maritime VPF tab, in the VPF group, click Notes Editor
 .
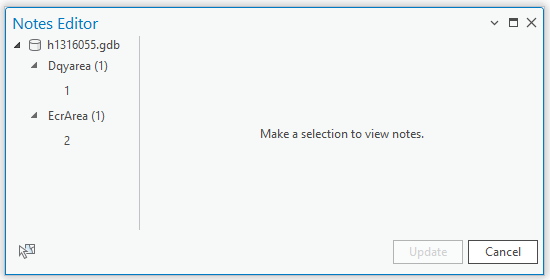
. The Notes Editor pane appears.
Remarque :
If no features were selected, the tree view in the Notes Editor pane is blank.
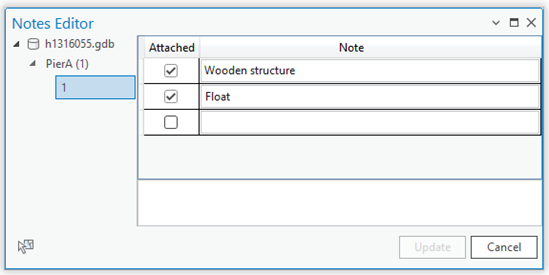
- In the tree view in the Notes Editor pane, click the ID of a feature or click a feature class to view its associated notes.
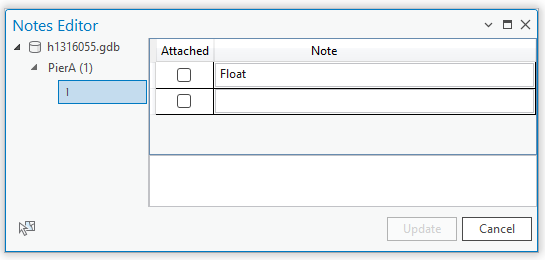
If the feature class for the selected feature or features contains notes, they appear in the Notes Editor pane and are sorted by attached state and then alphabetically.
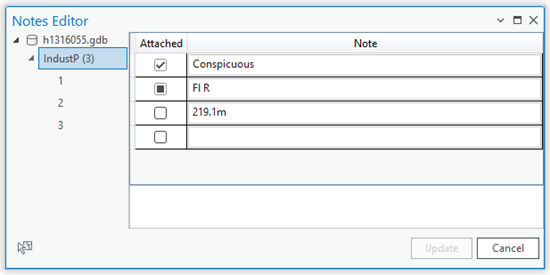
Notes that are attached to the selected feature or all selected features in the selected feature class appear with a checked check box. Notes that are not attached to the selected feature or all selected features in the selected feature class appear with an unchecked check box.
When working with a feature class, notes that are only attached to some of the selected features in the selected feature class appear with a mixed state check box.
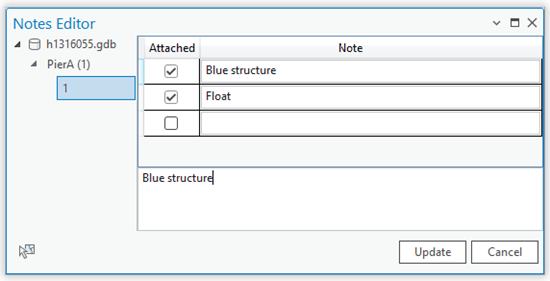
- Click the row that contains the note you want to edit and update the text in the text box at the bottom of the Notes Editor pane.
Attention :
If your note requires unit conversion, you must manually convert the units before entering the note.
- Click Update.
The edited note appears in the Note column of the Notes Editor pane.
Vous avez un commentaire à formuler concernant cette rubrique ?